Trong hướng dẫn này, bạn sẽ tìm thấy thông tin chi tiết về cách chuẩn bị thông tin, lấy thông tin đĩa của VM và cấu hình lại đĩa của VM.
Bước 1: Chuẩn bị thông tin
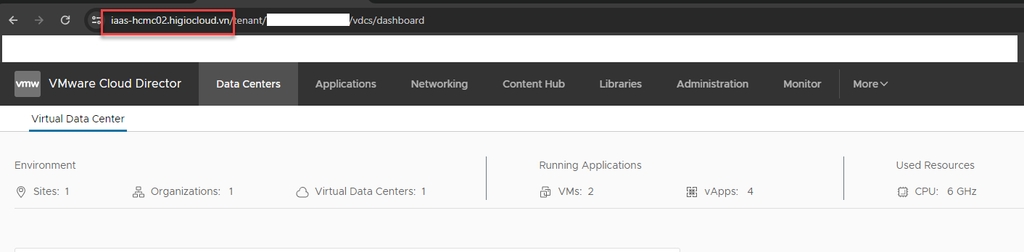
Đăng nhập vào IAM portal -> vCD portal: thu thập thông tin
{{vcd_url}}
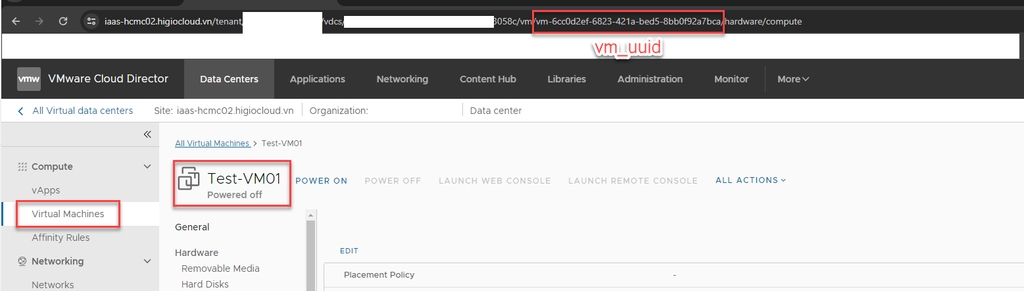
{{vm-uuid}}: chọn VM -> kiểm tra vm uuid trên URL
{{Bearer Token}}: Vui lòng tham khảo tài liệu “API đăng nhập bằng Token”.
Bước 2: Lấy thông tin đĩa của VM
GET https://{{vcd_url}}APIi/vApp/{{vm-uuid}}/virtualHardwareSection/disks
Authorization: {{Bearer Token}}
Headers:
- ‘Accept’: */*;version=37.2
- ‘Content-type’: application/vnd.vmware.vcloud.rasdItem+xml
Bước 3: Cấu hình lại đĩa của VM
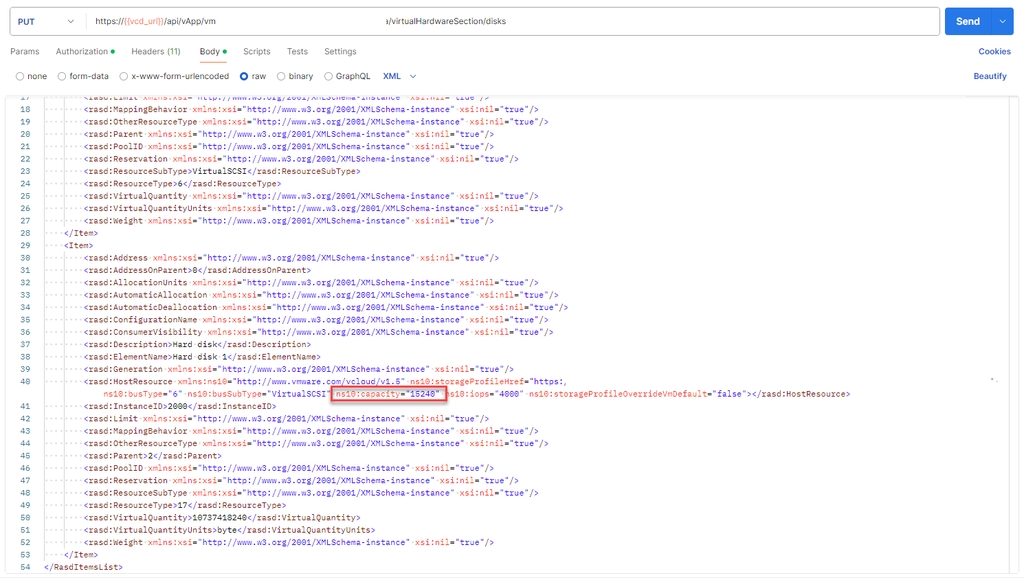
PUT https//{{vcd_url}}APIi/vApp/{{vm-uuid}}/virtualHardwareSection/disks
Authorization: {{Bearer Token }}
Headers:
- 'Accept’: */*;version=37.2
- ‘Content-type’: application/vnd.vmware.vcloud.rasdItem+xml
Body: {{select raw -> copy and paste response body from Get VM’s disk information }}
Ex:
Tìm từ ns10:capacity và chỉnh sửa giá trị của nó (đơn vị MB).
SEND request.
Bước 4: Xác minh
Lấy thông tin đĩa của VM
GET https://{{vcd_url}}/api/vApp/{{vm-uuid}}/virtualHardwareSection/disks
Kiểm tra trên vCD portal:
Đăng nhập IAM -> vCD portal -> chọn VM -> Hard disk